Graveyard rating starts with deciding whether a body is worth burying by checking its white and red skulls before choosing a headstone and fence. More white and fewer red skulls leave more room for a strong grave; expensive furniture is not a universal fix for a poor body.
Quick answerA good body plus suitable furniture makes a good grave. Address the skulls before over-investing in decoration.
The four rating elements
1
White skulls
Represent the grave-quality potential the body can support; more is better.
2
Red skulls
Drag the grave result down; fewer is better.
3
Headstone and fence
Each has a quality value, but expensive decoration cannot raise a low-white-skull body without limit.
4
Total graveyard rating
Accumulates from graves and graveyard facilities; improving one body and expanding the grounds are separate jobs.
First burial: six safe steps
Receive the body. Carry the delivered body into the morgue.
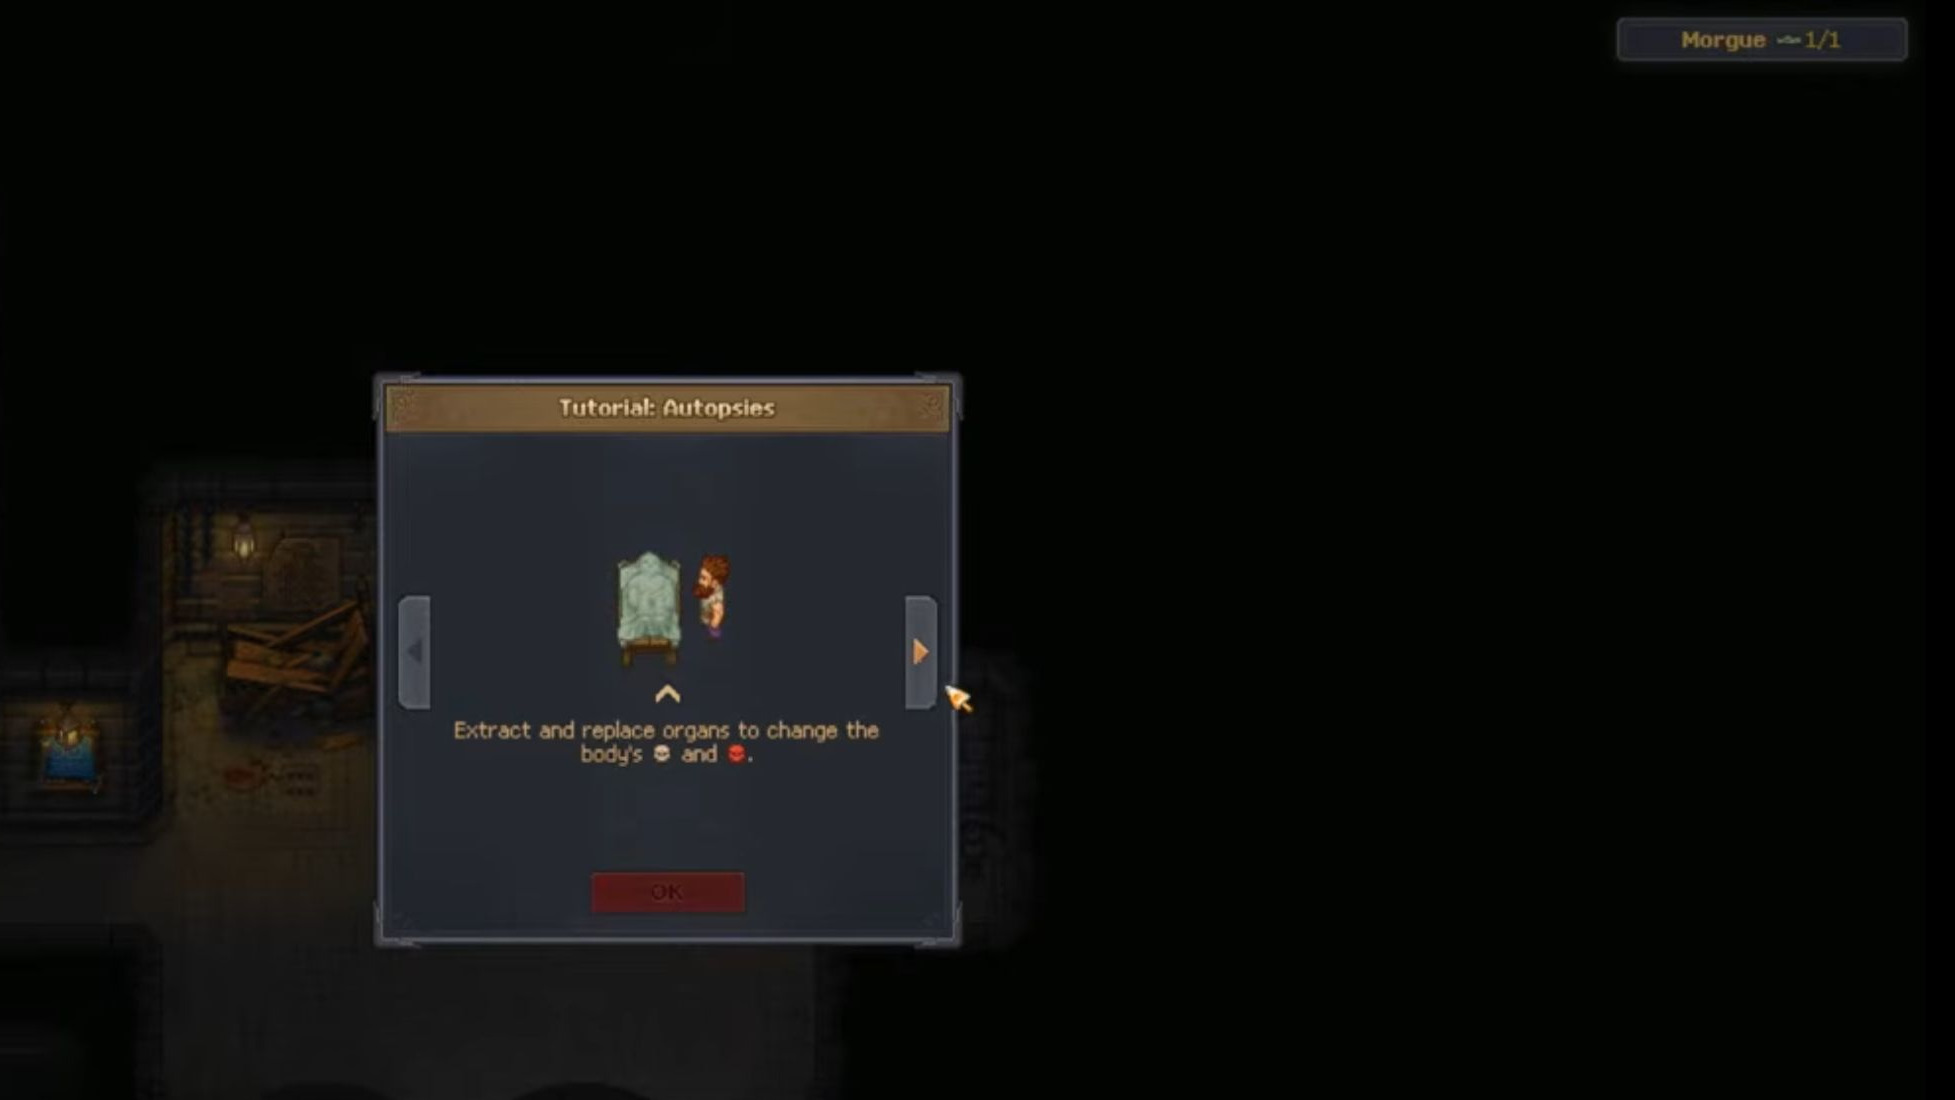
Inspect first. Place it on the autopsy table and read the skulls before removing anything.
Make only explainable cuts. Organ effects vary. If you are unsure, leaving the body intact is safer than a surgery mistake.
Mark a grave at the blueprint desk. Place an empty grave in the graveyard, then dig it.
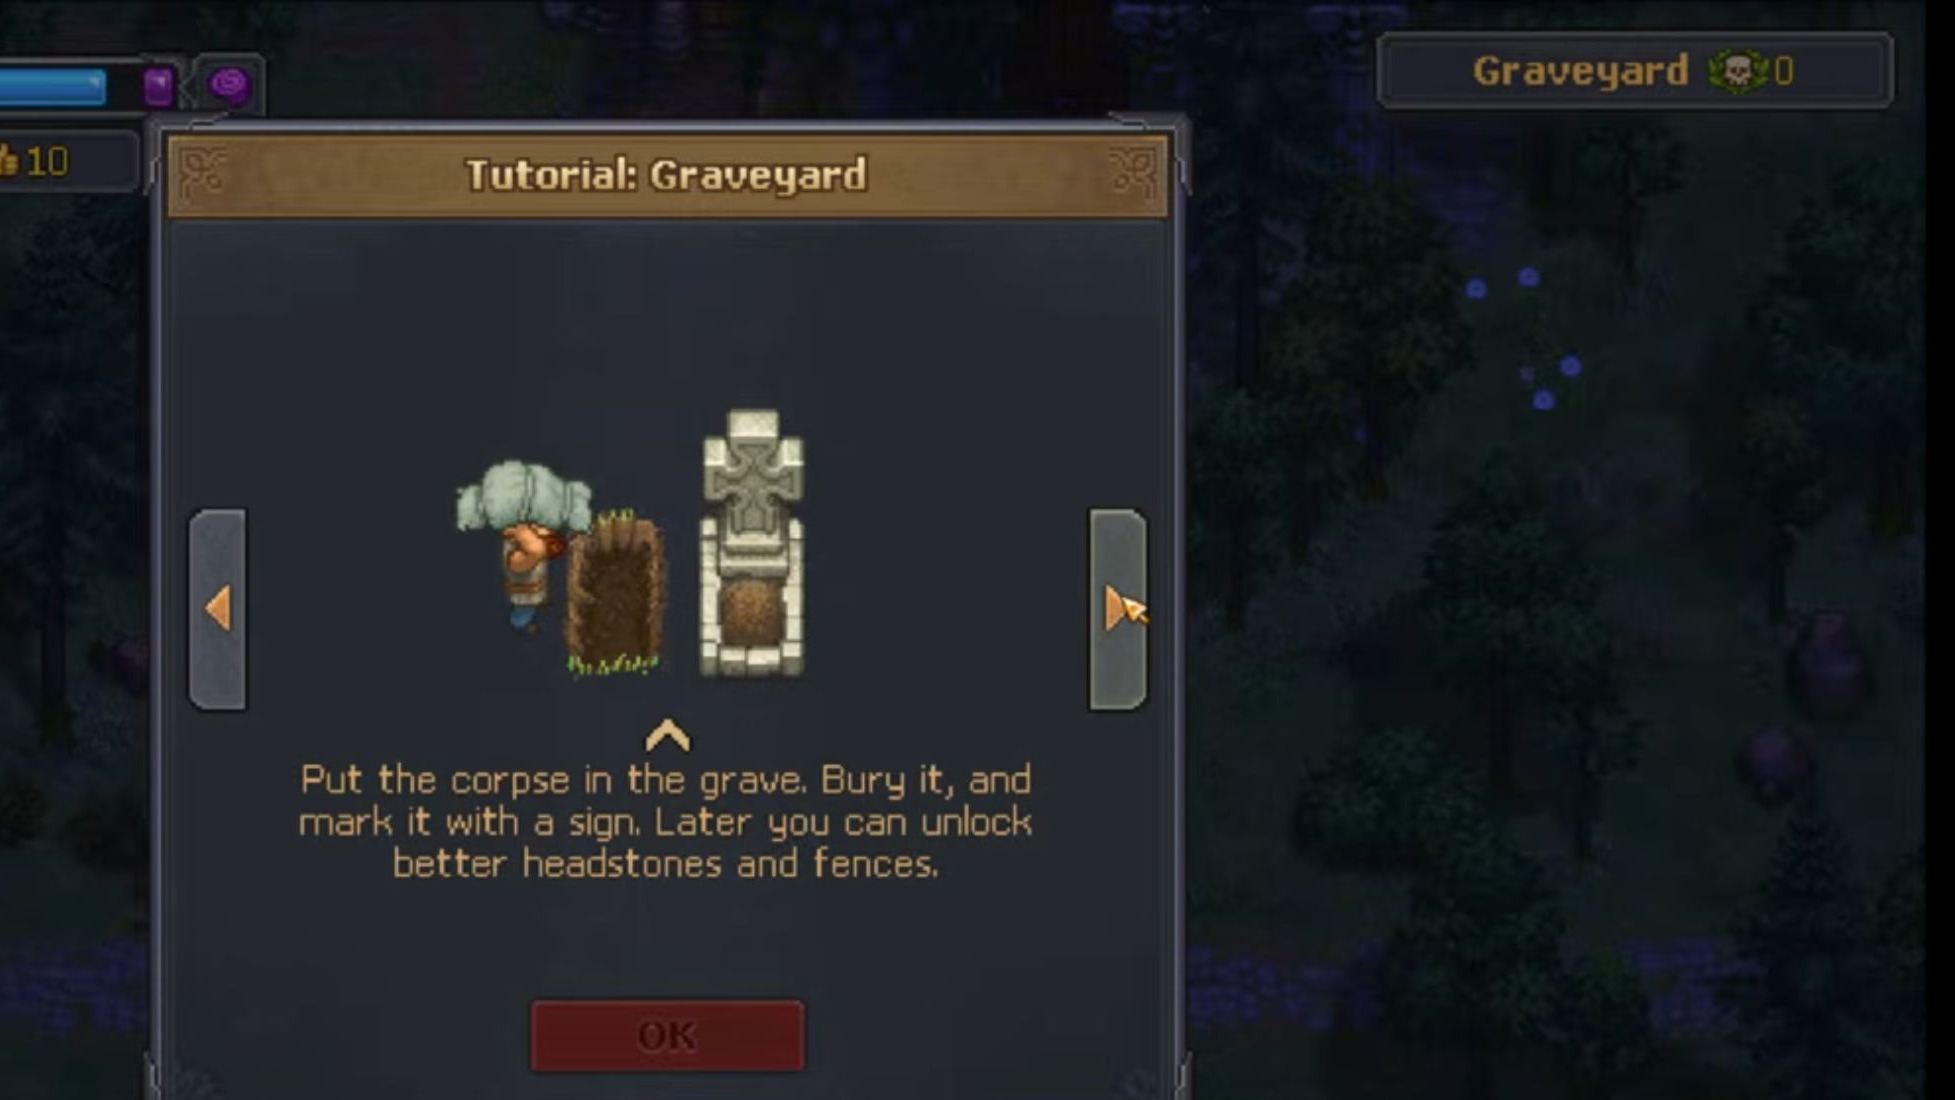
Bury and add a marker. The first free grave-furniture technology provides the wooden sign.
Collect the burial certificate. The tutorial awards the first certificate after the grave is complete and directs you back to the guard captain.
The in-game grave, burial and marker tutorial at about 34:14. Source: CohhCarnage / YouTube
Early grave furniture: start with wood
The demo data explicitly connects these three items to early graveyard technologies. Quality is the value stored on the item; the body’s white and red skulls still constrain the final grave result.
Furniture
Quality
Materials
Technology
Wooden Sign
+1
2× Board · 2× Stick
Wooden Sign
Wooden Cross I
+2
2× Wooden Plank · 2× Bronze Nails
Wooden Gravestones I
Wooden Fence I
+1
2× Wooden Plank · 2× Bronze Nails
Wooden Gravestones I
View the full headstone and fence quality ladder
These items exist in the current game data; that does not mean every tier is obtainable in the demo.
Headstone / marker
Wooden Sign+1
Wooden Cross I+2
Wooden Cross II+3
Gravestone I+4
Gravestone II+5
Marble Cross I+6
Marble Cross II+7
Grave fence
Wooden Fence I+1
Wooden Fence II+2
Stone Fence I+3
Stone Fence II+4
Marble Fence I+5
Marble Fence II+7
Bury, hold or cremate?
1
Bury now
Use when: The body has reasonable white skulls, few red skulls, and you need the quest progress or burial certificate.
Next: Fit the marker and fence you can afford. The tutorial confirms that better grave furniture unlocks later.
2
Hold on a corpse pallet
Use when: You do not understand the organ values yet, lack decoration materials, or are waiting for an autopsy unlock.
Next: Pausing is safer than removing organs blindly; even bodies in the same tier can carry different organ values.
3
Cremate later
Use when: The body has many red skulls and few white skulls, so expensive grave furniture is unlikely to produce a worthwhile grave.
Next: After Body Places I and Crematorium I open, route bodies like this into cremation.
The first red-and-white-skull explanation at about 32:09. Source: CohhCarnage / YouTube
Early graveyard technology order
1
Wooden Sign
free
Free research when the branch is available; provides the first wooden sign recipe.
2
Wooden Gravestones I
R 5G 2
The first meaningful grave upgrade: Wooden Cross I and Wooden Fence I.
3
Graveyard Keeper I
R 2G 5
Opens Grave Area I and Exterior Bench I. Useful for expanding the graveyard rather than improving one corpse.
4
Body Places I
R 5G 5
Adds Crematorium I, giving poor bodies an alternative to occupying a grave.
Three common mistakes
Memorising one removal order. The data contains 60 body templates, and organ values can differ even within one tier. Read the current body.
Trying to rescue a poor body with expensive furniture. Address the skulls before deciding how much furniture to invest.
Expanding the graveyard too early. Expand when space becomes the constraint. Early materials usually work harder in workstations, wooden grave furniture and the cremation option.
Data and evidence
Skull direction and the first-burial flow: complete English auto-captions from CohhCarnage Part 1 plus the visible in-game tutorial text.
Body and organ variation: the body and organ tables in the game files, 60 templates.
Furniture quality and materials: item and recipe data; technology costs and unlocks: technology data — all read from the game files.
Checked against 2026-09-15. Auto-captions can mistranscribe names, so this page only uses claims also supported by tutorial visuals or game data.
Frequently asked questions
Does a better headstone always raise a grave rating?
Not always. Grave furniture has its own quality, but the tutorial also says white skulls define the quality potential the body can support. A low-white-skull body limits the return from expensive furniture.
Which organs should I remove from the first body?
Do not follow a blind fixed order. Organ skull values vary in the game data, including between bodies of the same tier. Learn to inspect the values first, then use the Autopsy & organs table for the exact body.
Are there better headstones and fences later?
Yes. The tutorial explicitly says better headstones and fences unlock later. Use affordable furniture for the first burial, then upgrade as materials and technology improve.
Why is there no exact rating formula here?
The available demo tutorial confirms the direction of white skulls, red skulls and decoration quality, but does not fully demonstrate how every graveyard facility combines. This guide does not present an unverified equation as fact.